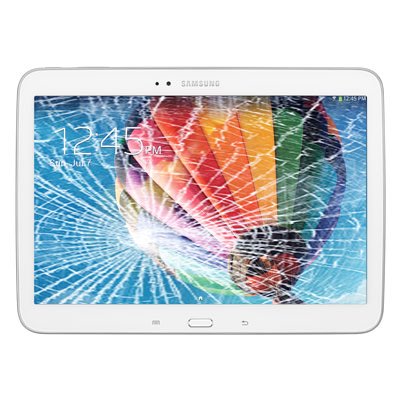
Samsung Galaxy Tab 3 Screen Replacement: A Step-by-Step Guide
The Samsung Galaxy Tab 3, a versatile tablet, has served users well over the years. However, accidents happen, and broken screens are a common issue. If you find yourself in need of a screen replacement, fear not! Here’s a comprehensive guide to help you navigate the process:
- Gather Your Tools and Parts:
- You’ll need a Galaxy Tab 3 8.0 Screen (available for purchase) and a set of tools:
- Phillips #0 Screwdriver
- iFixit Opening Tool
- Spudger
- Tweezers
- Adhesive tape (3 mm)
- Heat Gun
- You’ll need a Galaxy Tab 3 8.0 Screen (available for purchase) and a set of tools:
- Preparation:
- Place scotch tape over the broken glass to prevent scattering.
- Remove any memory or SIM cards (if your tablet is the 3G version).
- Battery and Back Cover:
- Use plastic tools to carefully remove the back/battery cover, paying attention to the Power and Volume buttons.
- Disconnect the battery before proceeding.
- Micro USB Charging Port Replacement (Optional):
- If you want to replace the micro USB port flex cable, follow these steps:
- Remove two screws and disconnect the charging port flex cable.
- Unstick the flex cable from the middle frame.
- If you want to replace the micro USB port flex cable, follow these steps:
- Battery Replacement (Optional):
- If you’re changing the battery:
- The battery is stuck to the middle panel; use the white sticker to remove it.
- If you’re changing the battery:
- Component Identification:
- Take note of components like loudspeakers, power and volume buttons, audio jack, front camera, and Wi-Fi antenna.
- Heating the Touch Screen Glass:
- Use a heat gun or hair dryer to warm the touch screen glass. This makes the adhesive more flexible for easier separation.
- Be cautious and wear gloves to avoid injuries from glass shards.
- Careful Disassembly:
- Beware of the menu buttons flex cable.
- Always test the new spare part before final installation.
- Transfer Black Tape and Reassemble:
- Transfer the black tape from the old display; it maintains the distance between the display and the battery.
- Reassemble the tablet step by step.
- Or bring the Samsung tablet to us for our expert repair.